
TIG Welding Maintenance: 7 Habits That Prevent Overheating and Costly Repairs
A TIG machine can still strike a decent arc while a loose connection, restricted cooler, or blanket of grinding dust is slowly cooking something expensive. That’s what makes maintenance easy to put off: the machine works, right up until it doesn’t. Good TIG welding maintenance catches those problems before they become a burned power cable or a service ticket.
You don’t need to tear the welder apart every weekend. You need a repeatable inspection routine, the correct consumables and coolant, and enough attention to notice when something changes. Start with the manufacturer’s maintenance requirements, then tighten your schedule around how dirty and demanding your shop actually is.
1. Keep Grinding Dust Out—and Clean the Machine Safely
Grinding dust is more than a dirty-shop problem. Metallic particles can accumulate on circuit boards and heat sinks, restrict cooling, and create unwanted electrical paths inside an inverter. If your tungsten grinder or flap-disc station throws dust toward the welder’s intake, move one of them. Keeping contamination out beats digging it out later.
Maintain the clearance specified around the cooling openings; don’t park the machine against a wall or stack gloves over its vents. Wipe the exterior with a dry or barely damp cloth, keeping moisture away from openings and connections. Clean removable intake screens or filters only as directed, and don’t add homemade filter material that restricts airflow. A cleaner-looking machine that can’t breathe isn’t an improvement.
Opening the case is a separate job
Switching the welder off does not make its internal components safe to touch. Disconnect and isolate the input supply, follow workplace lockout procedures, and observe the manufacturer’s discharge and servicing instructions. Inverter capacitors can retain dangerous voltage, so elapsed time alone is not proof that the machine is safe. Leave internal cleaning to qualified service personnel unless the manual explicitly provides an operator maintenance procedure.
- Don’t blast shop air through the vents. It can drive debris deeper and introduce moisture or compressor oil.
- If internal air cleaning is authorized: follow the specified pressure, air quality, fan protection, and electrostatic-discharge precautions.
- Watch cooling behavior: many fans run on demand, so silence at idle does not automatically mean a failed fan.
2. Inspect the TIG Torch Before Heat Finds the Weak Spot
The torch carries welding current, shielding gas, and sometimes coolant through a surprisingly small package. Loose consumables and damaged cables add resistance, and resistance makes heat where you don’t want it. Before welding, check the torch head, handle, back cap, cable jacket, and strain reliefs for cracks, discoloration, or exposed conductors. Replace damaged parts rather than wrapping electrical tape around a developing failure.
Match the collet and collet body or gas lens to the tungsten diameter: a 3/32-inch electrode needs the corresponding hardware. A distorted collet may grip poorly even when you tighten the back cap harder, and overtightening can damage the assembly. Inspect the back-cap O-ring and sealing surfaces, then assemble everything snugly according to the torch instructions. More torque is not a maintenance strategy.
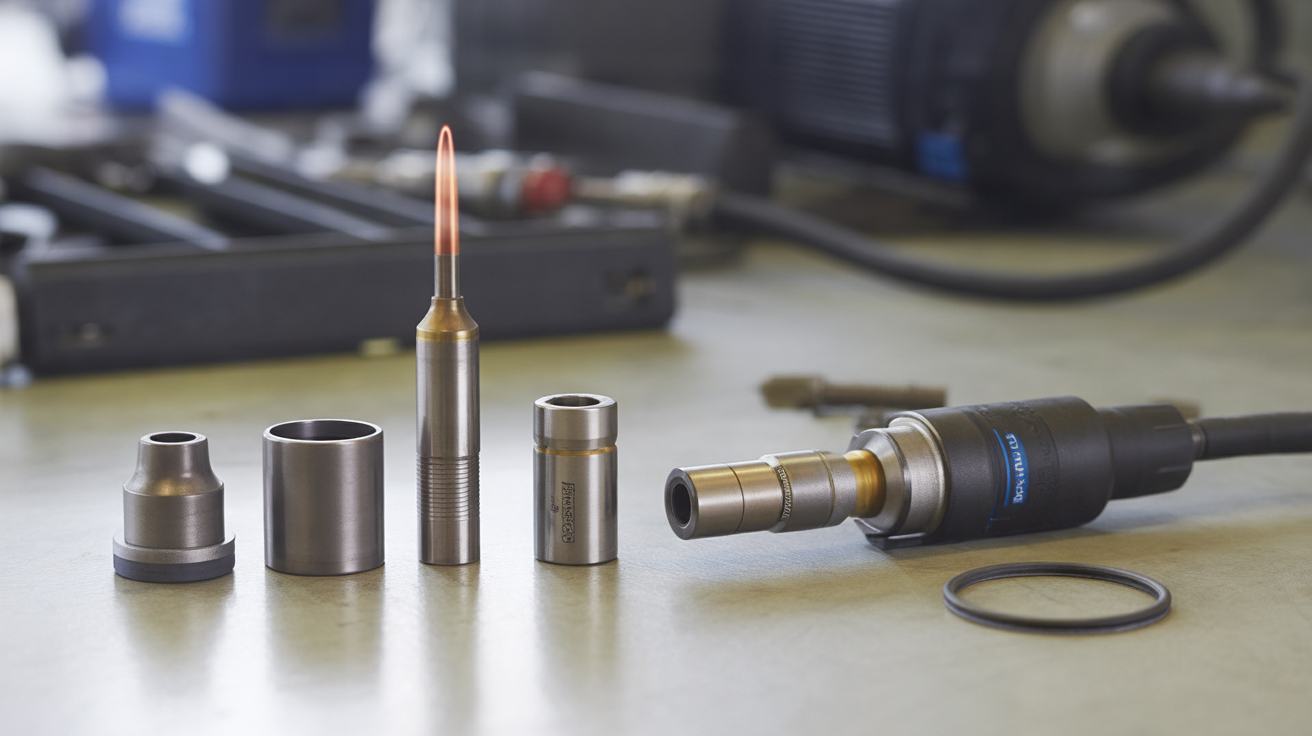
Torch ratings deserve a look before you blame the power source for trouble. A common #17 air-cooled torch may carry a rating around 150 amps DC, while a #20 water-cooled torch may be rated around 250 amps, but actual ratings depend on the manufacturer, duty cycle, and AC or DC operation. Running long aluminum beads at 180–200 amps can exceed the capability of an air-cooled setup even though the machine itself has capacity left. Size the whole system for the work.
3. Maintain the Water Cooler, Not Just the Reservoir Level
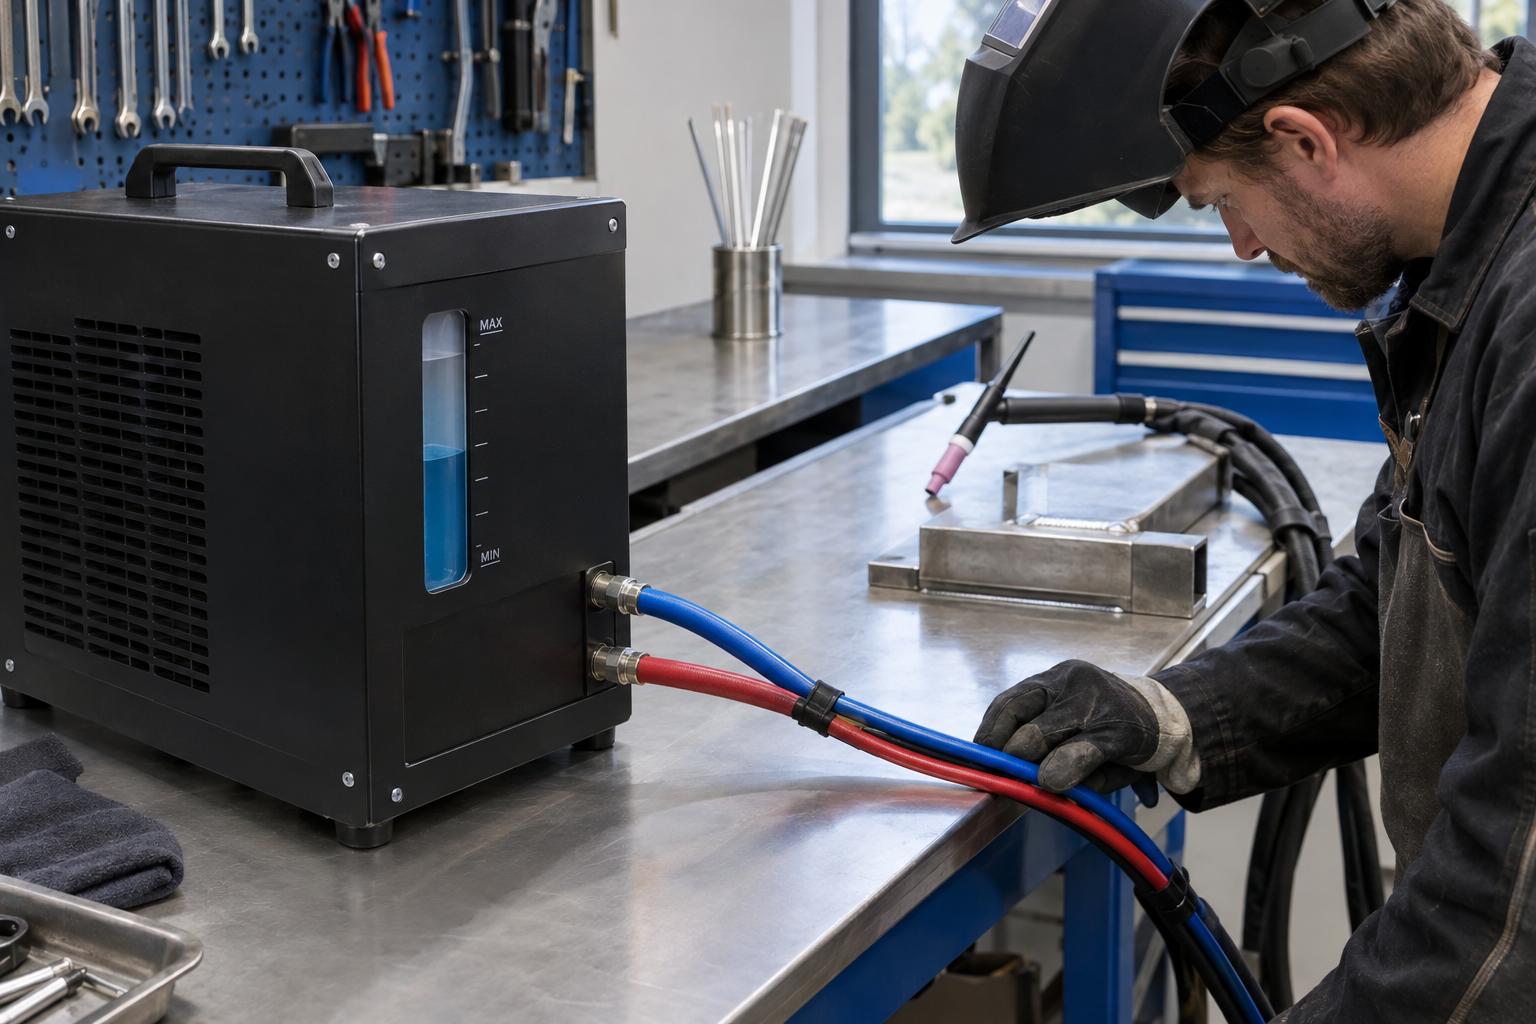
A water-cooled TIG torch depends on circulation through narrow passages and, on many designs, through the power-cable assembly. Low flow lets the cable and torch overheat even when the reservoir looks full. Check coolant level with the system in the condition specified by the manufacturer, inspect hoses for kinks, and look for damp fittings or residue from slow leaks. Don’t run the pump dry.
Use the coolant approved for the cooler and torch system, including its conductivity and freeze-protection requirements. Automotive antifreeze, tap water, and improvised mixtures can introduce unsuitable additives, minerals, or electrical conductivity. Don’t mix unknown coolant types or top up repeatedly without finding where the fluid went. The reservoir is not supposed to consume coolant like a pickup consumes fuel.
Confirm circulation before a high-amperage session
Use the built-in flow indicator or the manufacturer’s prescribed flow test; pump noise alone doesn’t prove coolant is moving through the torch. If there’s a flow alarm or interlock, test it as instructed and never bypass it to finish a weld. Clean accessible cooler radiator surfaces and service strainers on the specified schedule, because blocked airflow and restricted liquid flow both reduce cooling. Replace coolant at the prescribed interval, sooner if contamination requires a complete approved cleaning procedure.
4. Find Shielding-Gas Leaks Before They Waste Argon
Shielding-gas maintenance protects weld quality and keeps you from chasing false machine problems. A leaking back-cap seal, split hose, or loose fitting can produce oxidized tungsten and porosity that look like an arc-setting issue. Inspect the complete path from the secured cylinder to the torch, including quick-connects and the machine’s external gas connections. Keep oil and grease away from cylinder and regulator connections.
For a conventional #6–#8 cup in still air, roughly 15–20 CFH of argon is a reasonable starting range, not a universal setting. Check flow with gas actually moving, hold a variable-area flowmeter upright, and follow its float-reading instructions. A torch-mounted flow checker can help identify a delivery discrepancy, though it doesn’t replace a leak test. Turning the regulator up to 35 CFH may just waste gas and create turbulence that pulls air into the shielding envelope.
- Apply an approved leak-detection solution to suitable external gas fittings; never use a flame.
- Keep test solution away from electrical openings and follow its cleanup instructions.
- Close the cylinder when finished and depressurize the system as instructed.
- Investigate persistent leakage or abnormal gas-solenoid operation rather than opening the machine yourself.
5. Check Power Connections, the Work Lead, and Remote Controls
A loose welding-output connector can get hot enough to damage its socket, and replacing the lead won’t repair a burned machine receptacle. With power isolated, inspect the torch and work-lead connectors for pitting, discoloration, damaged insulation, and incomplete engagement. Seat twist-lock connectors fully according to their design, and use specified torque wherever bolted connections require it. Don’t keep welding through a connection that smells hot.
The work clamp needs clean metal and solid contact close to the weld. Attaching it to mill scale, paint, or a loose fixture joint adds resistance and can send welding current through unintended paths. Don’t route that current through bearings, lifting chains, or protective-earth conductors. The work lead is the welding return circuit, not a substitute for the machine’s safety grounding connection.
Inspect the input plug, supply cable, pedal cable, and remote-control connector without dismantling energized equipment. A crushed pedal cable or damaged connector pin can cause erratic amperage control that feels like an internal electronics fault. Keep the pedal out of grinding dust and check its mechanical movement with the machine off. Scorched plugs, loose receptacles, repeated breaker trips, or input-voltage concerns belong with qualified service personnel or an electrician.
6. Respect Duty Cycle and Let the Cooling System Work
Duty cycle describes an operating limit at a stated output and test condition, not how tough the case looks. A rating of 200 amps at 40% duty cycle commonly means four minutes of welding followed by six minutes of cooling within a ten-minute period, under the conditions specified in the manual. Check the actual rating basis, including ambient temperature and input supply. A hot shop and restricted vents leave less cooling margin.
Repeated thermal shutdowns are a warning, not a normal production rhythm. Reduce arc-on time, lower output where the procedure permits, or move to equipment rated for the workload. If the machine trips thermally much earlier than expected, investigate airflow, fan operation, supply conditions, and cooling-system performance. Don’t assume you’ve simply found its limit.
After sustained high-output welding, let the cooling system operate as the manual directs rather than immediately killing the disconnect. For a thermal shutdown without smoke or an electrical hazard, many machines need to remain powered for their fans to cool them. Smoke, arcing at a connection, or a burning electrical smell changes the response: stop, isolate the equipment safely, and arrange service. Don’t restart it to see whether the smell comes back.
7. Build a Maintenance Schedule Around Hours and Symptoms
A practical TIG welder maintenance schedule combines quick checks every shift with longer inspections based on operating hours and shop conditions. A fabrication bay full of grinding dust needs more attention than a clean, low-use bench. I’d start with the routine below, then adjust it using the manual and what inspections actually reveal. Manufacturer requirements take priority.
- Before each shift: inspect torch parts, leads, connector engagement, gas supply, coolant level and indicated flow, and ventilation clearance.
- Weekly in regular use: clean exterior surfaces, examine hoses and strain reliefs closely, and inspect accessible cooler fins and intake screens.
- Monthly: perform a documented external inspection, check service intervals, and schedule authorized cleaning if contamination is building up.
- At specified intervals: replace coolant, service filters or strainers, and arrange required electrical or internal inspections.
Keep a short log of operating hours, coolant changes, damaged parts, fault codes, and unusual behavior. Record the actual setup when trouble occurs: “AC aluminum, 180 amps, shutdown after two long beads” is useful; “welder acting funny” isn’t. If starts become unreliable, check tungsten condition, torch assembly, work contact, and external connections before condemning the high-frequency starting system. Never adjust internal spark gaps or electronics unless you’re qualified and following the service procedure.
The goal isn’t to make an old welder look new. It’s to keep current flowing through sound connections, gas reaching the puddle, and heat leaving the equipment. Catch changes early, replace inexpensive wear parts before they damage expensive ones, and stop when a fault becomes a safety issue. That’s maintenance that earns its bench time.