How to TIG Weld With an Inverter vs Transformer Welder: Settings That Actually Change
How to TIG Weld With an Inverter vs Transformer Welder: Settings That Actually Change
Inverter vs Transformer TIG: What Changes at the Torch?
The biggest adjustment between an inverter TIG welder and a transformer machine usually shows up on aluminum, not mild steel. On DC, both can produce a steady arc and sound welds, provided the machine has decent low-amperage control. On AC, an inverter often lets you change arc frequency and balance independently, so you can shape the arc instead of working around it. That changes how you approach an inside corner, a thin edge, or two pieces with different thicknesses.
A transformer welder reduces incoming line voltage through a large transformer, with rectification and additional controls depending on the design. An inverter switches power electronically at high frequency, allowing a much smaller transformer inside the machine. That internal switching frequency is not the adjustable AC welding frequency you see on the front panel. Different things.
| Practical difference | Transformer TIG welder | Inverter TIG welder |
|---|---|---|
| DC steel and stainless | Capable of excellent welds; minimum amperage and starting vary | Often offers lower starting current and more programmable controls |
| AC aluminum | Commonly fixed at line frequency: 50 or 60 Hz; balance adjustment varies | Often offers adjustable AC frequency, balance, and sometimes waveform |
| Moving the machine | Older shop AC/DC units commonly weigh several hundred pounds | Many portable 200-amp units weigh roughly 30–60 pounds, without accessories |
| Learning curve | Fewer controls on basic machines | More control, but more ways to dial in an unhelpful setting |
Neither construction type guarantees AC capability, high-frequency starting, or pulse. A DC-only inverter does not become a conventional AC aluminum TIG machine because it has a digital display. Check the actual functions, not just the word “inverter.”
Set Up Gas, Polarity, and Tungsten Before Comparing Arcs
Start with the variables that should stay the same between machines. Use DC electrode negative, or DCEN, for ordinary TIG welding of mild steel and stainless, and AC for conventional aluminum TIG. Pure argon is the normal starting gas for these jobs. Don’t grab the argon/CO₂ bottle from your MIG machine and then spend the afternoon blaming the welder.
- Gas flow: Start around 15–20 CFH indoors with a #7 or #8 cup, then adjust for cup size, stickout, and coverage. Excess flow can pull air into the shielding envelope.
- Tungsten: A 3/32-inch, 2% lanthanated electrode is a useful starting size for roughly 70–180 amps, subject to polarity, AC balance, and manufacturer ratings.
- DC tip preparation: Grind lengthwise to a taper about two to three electrode diameters long, with a small flat at the end.
- Arc length: Aim around 1/16–1/8 inch, staying toward the short end where access allows.
- Cleanliness: Remove mill scale from steel. Degrease aluminum with a suitable nonchlorinated cleaner, let it dry, and remove oxide with a dedicated stainless brush.
Check the torch and work-lead connections against the machine manual, especially on equipment with separate gas and power fittings. Use suitable eye protection, gloves, protective clothing, and ventilation that doesn’t strip away shielding gas; keep grinding dust under control too. Never use chlorinated brake cleaner around welding, and don’t weld sealed containers. Better arc controls don’t fix bad preparation or unsafe work.
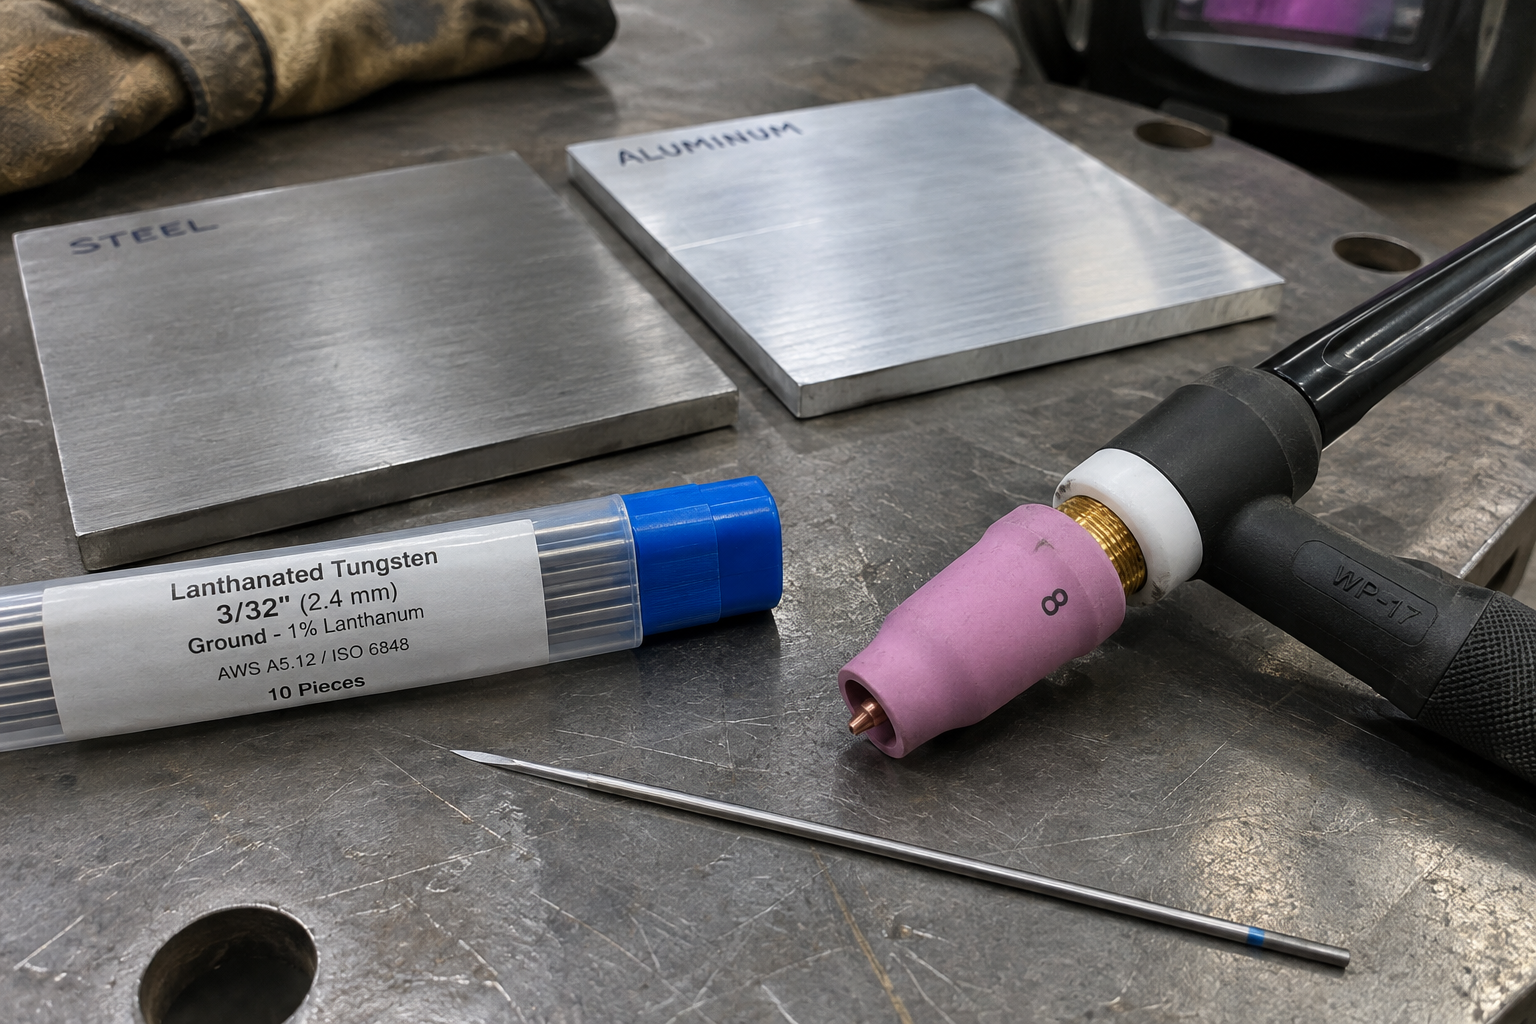
DC TIG on Steel and Stainless: Keep Your Technique, Reset the Pedal
On DC, your torch angle, filler timing, and puddle reading transfer directly from one machine to the other. Keep the torch roughly 10–15 degrees off vertical and add filler into the leading edge without pulling the hot rod outside the gas coverage. The difference you’re likely to notice first is how the arc starts and how the pedal delivers current. Two machines set to 120 amps can feel very different during the first half-inch.
For practice coupons, the following are reasonable starting ranges for flat-position welds with close fit-up. They’re not welding procedures, and a fillet, an open-root joint, or a heavy fixture can move the requirement substantially. Set a useful maximum on the panel, then use the pedal to control the puddle rather than treating the listed amperage as something you must hold.
- 16-gauge mild steel, about 0.060 inch: Start around 50–75 amps, with 0.045- or 1/16-inch ER70S-2 filler.
- 1/8-inch mild steel: Start around 110–140 amps, with 1/16- or 3/32-inch ER70S-2 filler.
- 16-gauge 304L stainless: Start around 40–65 amps, using compatible filler such as ER308L and a smaller puddle.
If you’re welding thin stainless, compare minimum stable current and starting behavior, not just maximum output. A machine that starts harshly can melt away an edge before you establish a puddle, while a smooth low-current start gives you time to settle in. Full-penetration stainless joints generally need backside shielding to prevent heavy oxidation, or sugaring. No inverter setting replaces a proper purge.
AC Aluminum: Adjust Balance First, Then Frequency
Aluminum is where the controls stop being decorations. The electrode-positive portion of AC provides cathodic cleaning at the workpiece but also heats the tungsten; the electrode-negative portion puts more heat into the work and reduces electrode heating. You need enough cleaning action to maintain a workable puddle, not the widest white etched band you can produce. Clean, clean, clean first, then adjust the machine.
Start With a Known AC Balance Convention
For clean aluminum on an inverter, about 65–75% electrode negative is a useful starting range if the manual supports it. Some machines display electrode-positive percentage, while others use a cleaning scale, so “70 balance” does not mean the same thing everywhere. Seventy percent EN corresponds to 30% EP. Read the panel convention before copying anyone’s settings.
- 1/8-inch aluminum practice joint: Try a 150–180-amp pedal ceiling, pure argon, and 3/32-inch ER4043 filler where appropriate for the alloy and service.
- Inverter starting point: Around 70% EN and 80–100 Hz, using the default AC waveform.
- Transformer starting point: Use its fixed AC frequency and the manual’s recommended balanced or general-purpose setting, then adjust balance if available.
For inverter AC, start with a truncated lanthanated tungsten unless the manufacturer specifies otherwise. Traditional transformer sine-wave machines commonly use a rounded tip, and some recommend pure or zirconiated tungsten; square-wave transformer recommendations can differ. Follow that machine’s electrode guidance rather than forcing one preparation onto every power source. You don’t want an oversized, unstable ball hanging off the end.
Use AC Frequency to Fit the Joint
Raising AC frequency on a capable inverter generally gives you a narrower, more directional arc. Try 100–120 Hz for a small fillet where you need to reach the root without washing excessively onto both legs; try 60–80 Hz when a broader arc suits the joint. Frequency is not an extra amperage knob, and higher isn’t automatically better. A fixed-frequency transformer can still make an excellent fillet—you’ll rely more on short arc length, torch placement, and joint access.
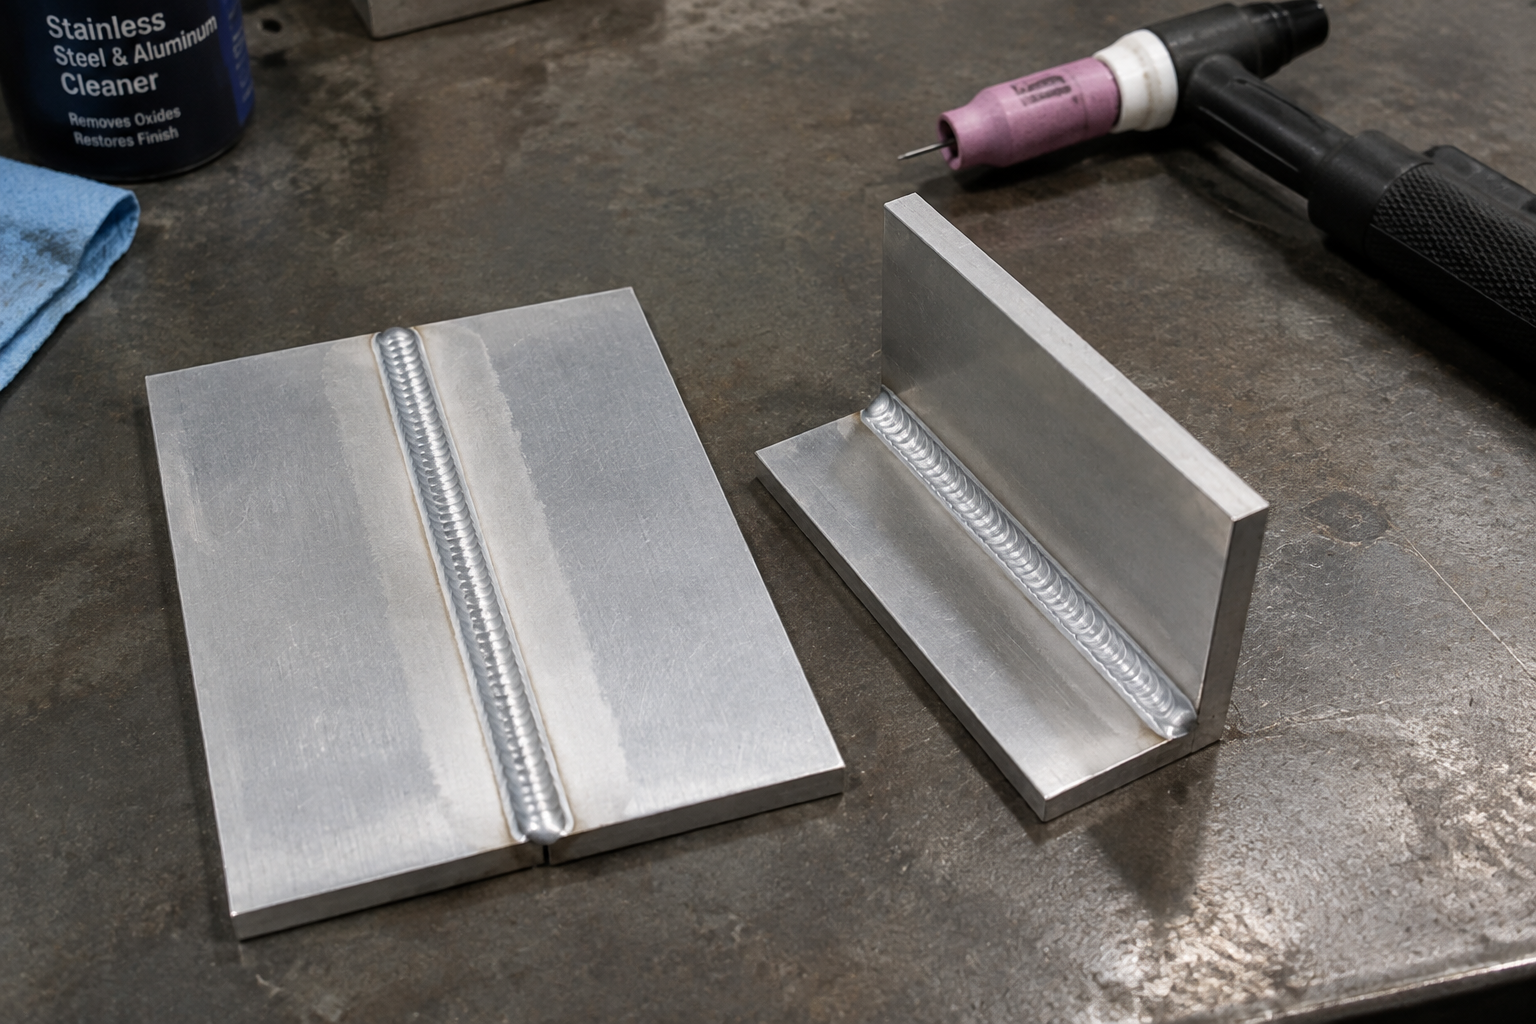
Pedal Response and Pulse: Don’t Change Everything at Once
A different foot pedal can require more adjustment than a different power source. Travel, spring pressure, and the relationship between pedal position and amperage all affect how quickly the puddle gets away from you. For 16-gauge steel, setting a 200-amp machine to its full output wastes useful pedal travel on current you probably won’t need. Bring the panel limit down near the job’s range.
My recommendation is to leave pulse off until you can run a consistent bead on the new machine. Then try 1–2 pulses per second, 30–40% background current, and about 40–50% peak time if those controls are available. That slow pulse gives you a rhythm for filler addition, but it won’t automatically reduce distortion if you compensate by crawling along. Pulse is a tool, not a welding instructor.
- Confirm whether the pedal controls peak current, overall output, or another parameter in the selected mode.
- Start on scrap matching the actual thickness and joint configuration.
- Change one setting, run another bead, and inspect the result.
- Taper down at the finish while adding enough filler to avoid leaving a deep crater.
Troubleshoot the Weld Before Condemning the Machine
An unfamiliar arc can make every defect look like an equipment problem. Check consumables, shielding, and connections before digging through advanced menus. A contaminated tungsten won’t straighten itself out because you increase AC frequency. Stop and regrind it.
- Tungsten balls excessively or splits on AC: Check for too much EP, excessive current for the electrode, or unsuitable electrode preparation.
- Aluminum puddle stays dirty: Recheck material and filler cleanliness, gas coverage, and balance convention before increasing cleaning action.
- Arc wanders: Inspect the tungsten, shorten the arc, and verify the work clamp has clean metal contact.
- Tungsten oxidizes after stopping: Check postflow and leaks. Around 8–12 seconds is a reasonable trial near 150 amps; the hot tip should remain shielded until adequately cooled.
- Machine cuts out: Check duty cycle, airflow, input supply, and fault indications. Don’t keep resetting a thermal trip.
Starting systems matter here too. Many traditional AC machines use continuous high frequency for arc stabilization, while many modern inverters need it only for starting. Use the mode specified by the manufacturer, maintain sound leads and connections, and observe its guidance around sensitive electronics or medical implants. Don’t troubleshoot high-frequency circuitry inside an energized welder.
Which Welder Fits Your Work, Power Supply, and Budget?
A used transformer AC/DC machine can make sense for a fixed shop doing sustained work, provided you have the electrical supply, floor space, and service support. For rough U.S. budgeting, older used units may fall around $500–$1,500, while new portable AC/DC inverters commonly span roughly $1,000–$4,000 or more. Those are broad planning ranges, not equivalent packages. A cooler, torch, pedal, repairs, and electrical installation can erase the apparent bargain.
Compare rated output at the same duty cycle and input voltage. A 200-amp rating at 20% duty cycle generally means two minutes welding in a ten-minute period under the specified test conditions, not continuous 200-amp work. A dual-voltage inverter may deliver substantially less output on 120 volts, and an older transformer may need a substantial dedicated circuit. Have the supply checked against the nameplate and installation manual.
- Choose the inverter for frequent transport, thin-material control, or aluminum work that benefits from adjustable AC frequency. Check pedal quality, connector support, cooling requirements, and repair availability—not just the feature count.
- Choose the transformer when it stays in one bay, its output suits your work, and the purchase passes an operational test. Check arc starts, low-current operation, AC stability, fans, leads, and any cooler before paying.
- Keep your existing machine if it produces the control and duty cycle your jobs require. A sound transformer weld doesn’t become inferior because the machine is heavy.
The practical switch is straightforward: establish a baseline, learn the pedal, and adjust AC controls only when the joint gives you a reason. Your puddle still tells you when to move and when to back off. Listen to that before you listen to the display.