4 Best TIG Welders for Aluminum: What to Buy for Garage Repairs and Daily Fabrication
4 Best TIG Welders for Aluminum: What to Buy for Garage Repairs and Daily Fabrication
The best TIG welder for aluminum isn’t necessarily the one with the biggest amperage number. You need enough current to establish a puddle before the whole part gets hot, enough duty cycle to keep working, and a torch you can actually hold through the job. A machine that handles occasional 1/8-inch brackets can still be the wrong purchase for a bench full of 1/4-inch plate.
These four picks cover different budgets and workloads, from a reasonably equipped garage to a shop where downtime costs money. The recommendations are based on published capabilities and practical buying criteria, not a claimed side-by-side shop test. Prices are approximate U.S. planning ranges, not live quotes, and packages change. Compare the complete setup—not just the box with the attractive price.
1. Choose an Aluminum TIG Welder by Thickness, Power, and Arc Control
For general aluminum work, buy an AC/DC TIG welder with high-frequency starting. AC provides the electrode-positive portion of the cycle that helps break up aluminum oxide, while the electrode-negative portion supplies most of the useful penetration. Adjustable AC balance lets you manage that tradeoff, and adjustable AC frequency changes how broad or concentrated the arc feels. DC-only TIG machines have their place, but they aren’t the practical choice for this work.
| Typical aluminum work | Useful output class | What matters most |
|---|---|---|
| 0.040–0.080-inch sheet and small tubing | 150–200 amps | Low-current starting, pedal response, controlled downslope |
| 1/8-inch brackets, tanks, and general repairs | 200–225 amps | 240-volt input, AC balance, comfortable torch |
| Repeated 3/16-inch welds and occasional 1/4-inch joints | 250 amps or more preferred | Duty cycle, cooling, and available input power |
Those are buying categories, not guaranteed thickness capacities. An outside corner on 1/4-inch material takes heat differently from a fillet joining two large plates, because the plates pull heat away from the puddle. Likewise, dual-voltage input doesn’t mean full output on a household receptacle. Have the supply circuit sized from the manufacturer’s instructions by a qualified electrician; plug shape alone doesn’t tell you what the circuit can deliver.
Read duty cycle before you read the accessory list
A 40% duty-cycle rating means four minutes of welding within a ten-minute period at the stated current and test conditions, followed by the required cooling time. That can be perfectly workable for repairs with plenty of fitting between welds. It becomes a buzzkill when you’re running long seams near maximum output, and your air-cooled torch may get uncomfortable before the machine stops. Compare duty cycle at the current you’ll actually use, under equivalent test conditions.
2. PrimeWeld TIG225X: Best Budget Package for a 240-Volt Garage
The PrimeWeld TIG225X makes sense when you want useful aluminum capability without spending several thousand dollars before buying gas. Budget roughly $900–$1,100 for the machine package, which commonly includes a foot pedal and a CK Worldwide air-cooled torch. Its maximum TIG output is 225 amps on 240-volt input, with a published 40% duty cycle at maximum output. That puts it in a useful class for 1/8-inch work and intermittent heavier repairs.
The front panel uses separate controls rather than burying everything in menus. That’s helpful while learning because you can see the relationship between amperage, AC balance, frequency, and pulse settings, but a panel full of knobs still needs a deliberate setup. I’d start with pulse switched off and get comfortable with pedal control first. More adjustments don’t automatically make a better puddle.
- Price advantage: Leaves room in the budget for a cylinder, filler, and proper workholding.
- Portability: Roughly a 90-pound machine; think welding cart, not effortless one-handed carrying.
- Workload limit: The supplied air-cooled torch isn’t the setup I’d choose for sustained high-current AC welding.
- Ownership check: Confirm current warranty terms, shipping arrangements for repairs, and the exact included accessories.
Verdict: Buy the TIG225X for garage fabrication, learning AC TIG, and repairs where setup time naturally gives the equipment a break. Its value is getting the essential controls and usable accessories at a relatively low entry price. Spend more if frequent transport, local service access, or long high-amperage runs matter more than purchase cost.
3. Lincoln Square Wave TIG 200: Best for Simple Controls and General Repair
The Lincoln Square Wave TIG 200 suits someone who wants to adjust the arc without managing a deep programming menu. Allow approximately $2,500–$3,300 where this model remains available, and compare authorized-dealer stock and package contents carefully. It provides up to 200 amps of TIG output on 230-volt input and weighs approximately 46 pounds. That’s a meaningful handling advantage over a heavy budget unit if the machine regularly leaves the bench.
Its limitation is sustained output: the published TIG rating on 230-volt input is 200 amps at 25% duty cycle. For a cracked bracket or a few short seams, fitting and repositioning may provide all the cooling time you need. For repeated thick aluminum fillets, you’re buying a recognizable brand, approachable controls, and dealer access—not exceptional high-current endurance. Be honest about which one your work requires.
- Best workload: General repair, tubing, and intermittent sheet or 1/8-inch fabrication.
- Ease of use: Adjustable AC balance and frequency without an extensive sequence-programming interface.
- Thin-material limitation: Its published TIG range starts at 10 amps, worth considering for delicate edge work.
- Service consideration: Ask the local dealer who actually performs repairs and what turnaround normally involves.
Verdict: Choose the Square Wave TIG 200 if straightforward operation and manageable carrying weight outweigh maximum output per dollar. I wouldn’t pay its premium expecting it to outwork a higher-duty-cycle 250-amp machine on thick aluminum. It’s a repair and light-fabrication choice, not a small production powerhouse.
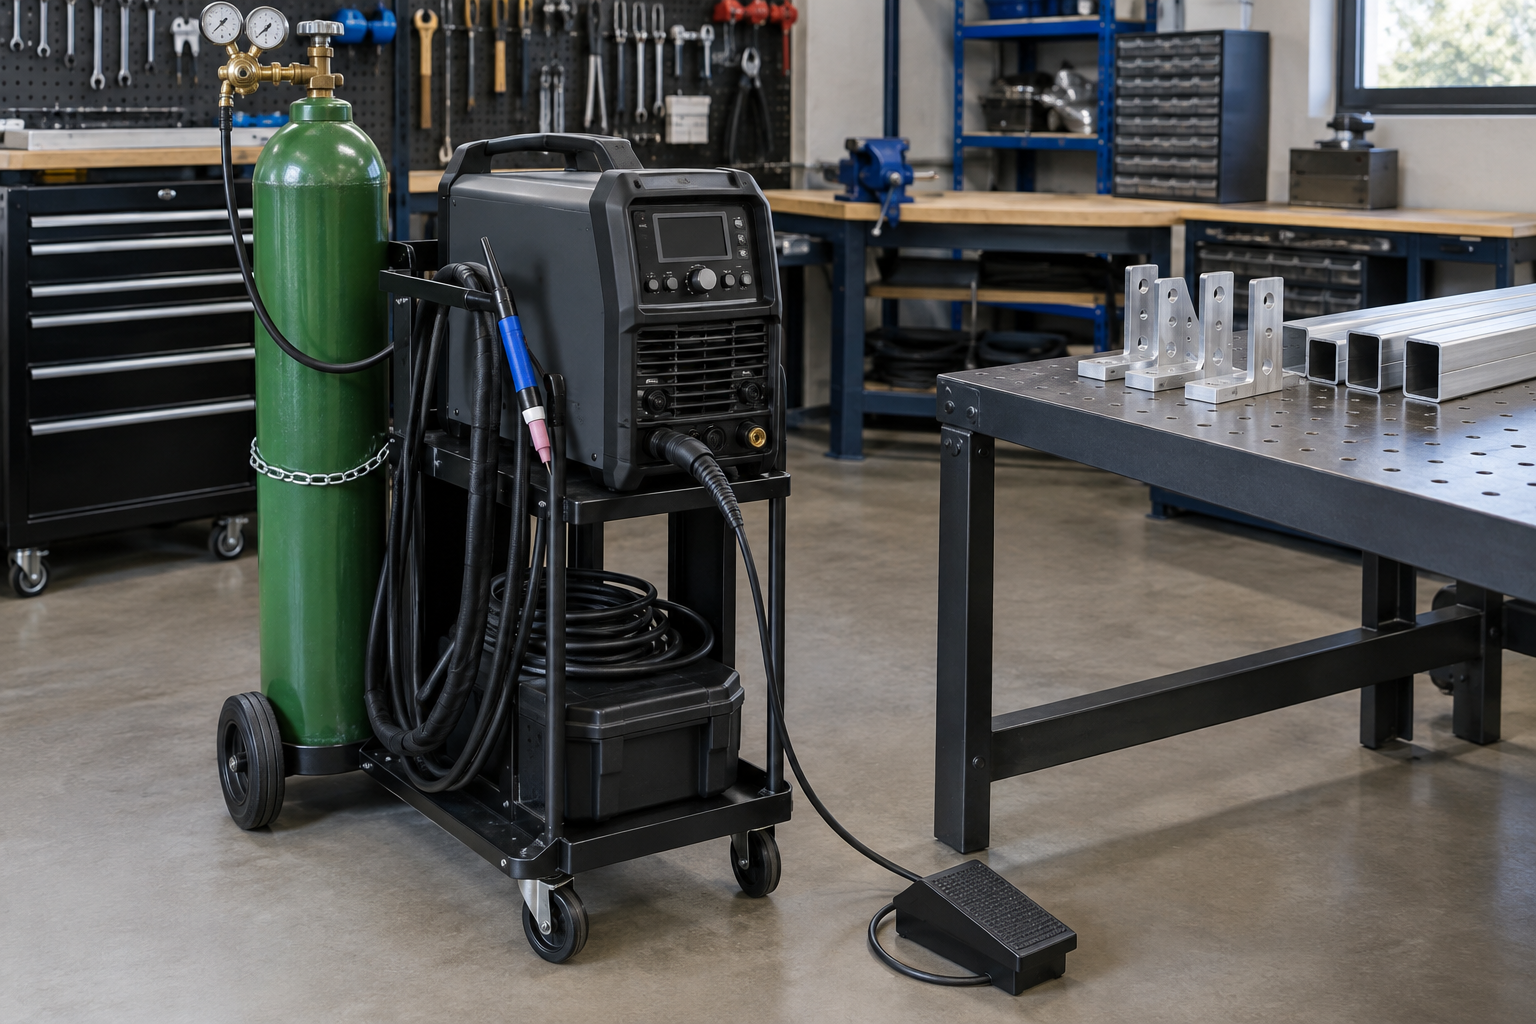
4. Everlast PowerTIG 255EXT: Best for More Amperage Without Premium-Brand Pricing
The Everlast PowerTIG 255EXT moves this comparison into heavier fabrication. Plan on roughly $2,800–$3,600 for the power-source package, with a cooler and suitable water-cooled torch potentially adding substantially to the total. It supplies up to 250 amps on 240-volt input, with a published 60% duty cycle at that output. That extra current and operating time matter when 3/16-inch aluminum becomes normal work rather than an occasional exception.
The advantage isn’t just making a weld on thicker plate. More available current helps establish the puddle promptly on a cold, heat-hungry joint, so you aren’t sitting there warming the entire assembly while waiting for the edges to cooperate. You can back off the pedal once the part starts holding heat. A 250-amp machine still has limits on large 1/4-inch assemblies, but it gives you more working room than a 200-amp unit.
- Control depth: Multiple AC waveform choices and programmable functions reward an operator who will actually learn them.
- Cooling: Budget for a manufacturer-compatible cooler and a torch rated for your AC workload.
- Portability: Treat the complete cooled system as a cart-based installation.
- Support: Establish parts availability and the repair process before relying on it for scheduled customer work.
Verdict: This is the value pick for a small fabrication shop that needs more usable aluminum output rather than a lighter machine. The controls are more involved, and the complete cooling setup takes space and money. But if you repeatedly run out of amperage or duty cycle, those are more useful purchases than another clever pulse feature.
5. Miller Dynasty 210: Best Premium Pick for Precision and Frequent Setup Changes
The Miller Dynasty 210 is for buyers who prioritize low-current control, input-power flexibility, and an established service ecosystem over inexpensive amperage. Expect roughly $5,000–$7,000 or more for power-source configurations, with complete cooled packages costing considerably more. Its maximum output is 210 amps, so it doesn’t replace a larger machine for heavy plate. You’re paying for control and system integration, not winning the amp-per-dollar contest.
At approximately 47 pounds for the power source, it’s easier to move than a large cart-based unit. Its Auto-Line input capability is useful where suitable shop power varies, although output restrictions and installation requirements still apply. Check the current manual’s duty-cycle information for the actual input supply you’ll use rather than assuming every input arrangement delivers identical performance. The cooler, cylinder, and cables also remain real weight, regardless of how portable the inverter is.
For thin aluminum, dependable low-current starting and a well-matched pedal matter more than having another 40 amps you rarely use. The Dynasty platform is worth considering for mixed precision work where the operator moves between material thicknesses and needs controlled starts and finishes. Confirm which controls, software functions, torch, and remote are included in the particular configuration. An expensive incomplete package is still incomplete.
Verdict: Choose the Dynasty 210 for daily precision fabrication when control, portability, and accessible support justify the premium. Don’t choose it simply because “professional” appears beside the price. If your daily work is long, heavy aluminum fillets, put the same scrutiny into a higher-output industrial system.
6. Aluminum TIG Settings and Accessories That Make These Machines Useful
For clean 1/8-inch aluminum coupons, a reasonable starting setup is 150–180 amps available at the pedal, 100–120 Hz AC frequency, and roughly 70–75% electrode negative. Those numbers get you into a useful neighborhood; joint geometry, travel speed, and heat buildup determine the adjustment. Check the balance convention before turning the knob because some machines display electrode-positive cleaning percentage instead. Seventy-five percent cleaning is not the same setting as 75% electrode negative.
Start with a simple torch setup
- Tungsten: 3/32-inch, 2% lanthanated for much general work; prepare a lengthwise-ground point with a small flat and follow the machine’s electrode guidance.
- Shielding: 100% argon, starting around 15–20 CFH with a #7 or #8 cup in still air. Excess flow can pull air into the shielding envelope.
- Filler: 3/32-inch 4043 is common for many 6xxx-series fabrication jobs, but alloy, service temperature, strength, and anodizing requirements govern selection.
- Preparation: Degrease with an appropriate nonchlorinated cleaner, let it evaporate completely, then remove oxide with a dedicated stainless brush. Keep chlorinated cleaners away from welding.
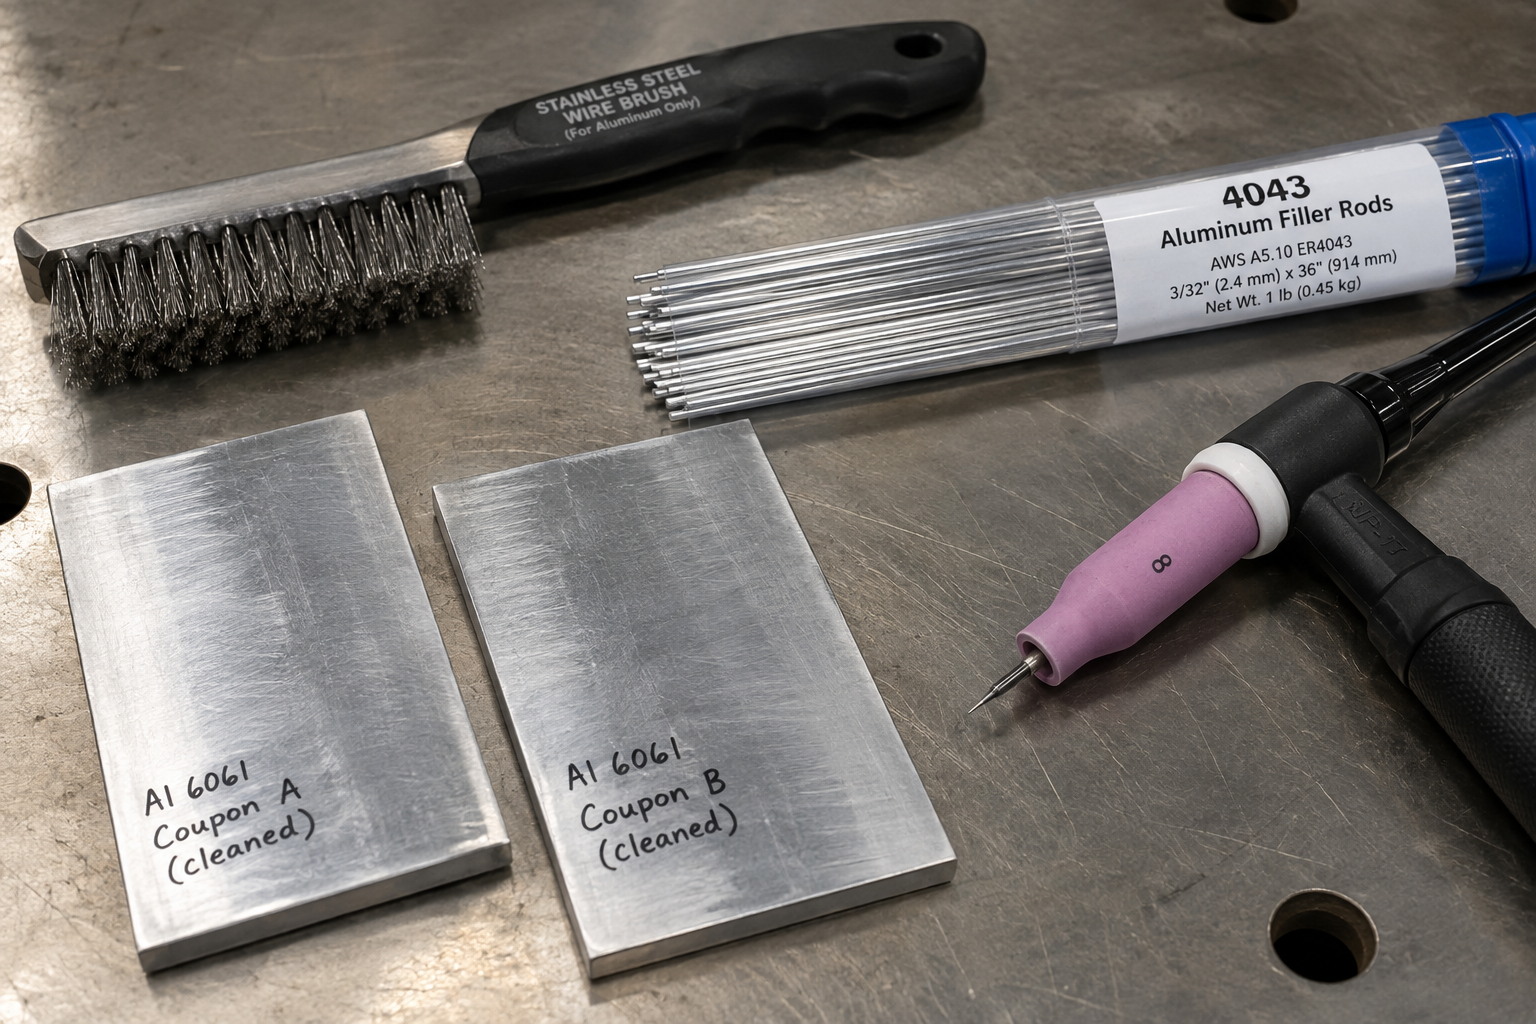
Keep the arc short, add filler at the leading edge of the puddle, and ease off as the assembly heats up. If the tungsten grows an oversized ball or starts splitting, review polarity balance, electrode size, and current instead of blaming the welder immediately. Use appropriate welding PPE, ventilation, and screens for nearby people, and stop to investigate unknown coatings or contaminated castings. Clean, clean, clean—but recognize that preparation cannot make every damaged casting safely repairable.
7. Which Aluminum TIG Welder Should You Buy?
For occasional garage work, I’d put the PrimeWeld TIG225X first and reserve money for gas, consumables, and fit-up tools. The Lincoln Square Wave TIG 200 fits the buyer who values simpler operation and lighter handling, provided its duty cycle matches the workload. The Everlast PowerTIG 255EXT makes the strongest case here for thicker, repeated fabrication at a moderate equipment budget. The Miller Dynasty 210 earns consideration when precision control and support matter more than maximum amperage per dollar.
Before ordering, write down your common thickness, longest uninterrupted weld, available input power, and complete torch-and-cooling cost. Then compare those requirements against the exact package and current manual. That’s how you avoid buying a perfectly capable welder that happens to be wrong for your bench.