5 Best TIG Welding Helmets for 2025: Low-Amp Clarity Without Wasting Money
5 Best TIG Helmets for 2025: Low-Amp Clarity Without Wasting Money
A helmet that behaves perfectly at 150 amps can become a headache when you ease off the pedal on thin stainless. The puddle gets small, the torch blocks a sensor, and suddenly that expensive viewing window isn’t helping much. For TIG, I’d put dependable low-current detection and a usable view ahead of graphics, touchscreen controls, and almost everything else.
These five picks cover budget shop work through premium, all-day TIG use. The comparisons are based on published specifications and practical buying criteria, not a claimed five-helmet hands-on test. Prices are approximate U.S. shopping ranges for this buying-guide class; graphics, packages, replacement generations, and dealer discounts change the actual bill.
What Makes a TIG Helmet Worth Buying?
Minimum TIG amperage and optical clarity are separate specifications. A lens can show excellent detail once darkened but still struggle to stay activated during a low-current downslope. Conversely, dependable triggering doesn’t guarantee you can distinguish the leading edge of the puddle from the surrounding heat tint. You need both, especially on 0.035-inch stainless tubing and small outside-corner joints.
| Helmet | Approximate Price | Main Advantage | Best Fit |
|---|---|---|---|
| Lincoln Electric VIKING 3350 | $300–$425 | Published 2-amp TIG sensitivity | Low-current TIG with general fabrication mixed in |
| Miller Digital Infinity ClearLight 2.0 | $325–$450 | 13.4-square-inch viewing area | Bench work and seeing around larger weldments |
| Optrel Crystal 2.0 | $400–$550 | Shade 2 light state and automatic shade adjustment | Frequent fit-up, tacking, and detailed TIG work |
| ESAB Sentinel A60 | $275–$375 | Half-shade adjustment and large rectangular lens | Welders alternating between TIG and other processes |
| ESAB Savage A40 | $100–$180 | Useful core features without premium pricing | Students, occasional TIG, and a second helmet |
Compare the exact auto-darkening filter, or ADF, rather than buying on the helmet name alone. Manufacturers revise lenses and headgear, and sellers sometimes use old photographs with new descriptions. Check the manual for TIG sensitivity, AC/DC qualifications, available shades, and applicable eye-protection standards before ordering.
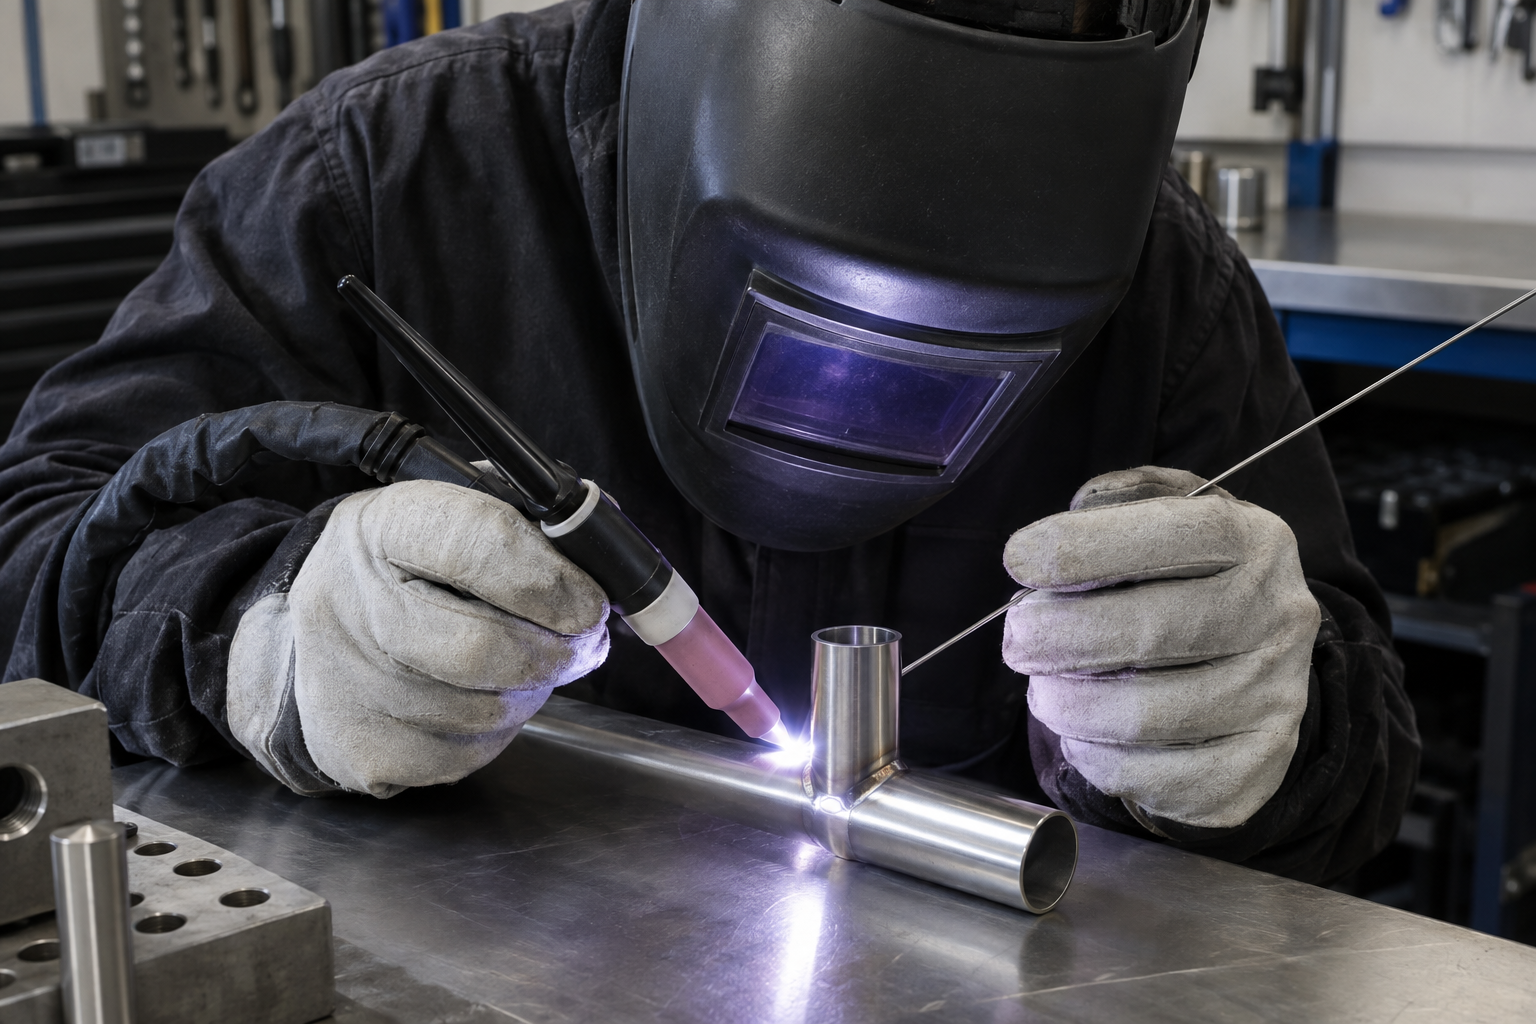
1. Lincoln VIKING 3350: Best All-Rounder for Low-Amp TIG
The VIKING 3350 earns its place here with a published TIG sensitivity down to 2 amps, a 12.5-square-inch viewing area, and Lincoln’s 4C lens technology. That low-current specification matters if you regularly taper off a weld with the foot pedal rather than snapping out of the arc. It isn’t a promise that the helmet will work with every sensor buried behind a fixture. But it gives you a stronger starting point than a filter specified for a 5-amp minimum.
The 1/1/1/1 optical classification addresses optical quality, light diffusion, luminous-transmittance variation, and viewing-angle dependence. In shop terms, you want the puddle to remain readable when you’re looking through the edge of the lens because the joint won’t let you sit square. That classification doesn’t measure low-amp triggering or color rendering, so don’t treat it as the whole story.
- Shade range: 5–13 on the current 4C configuration; choose the shade required for the process and current.
- Comfort consideration: X6 headgear spreads the load, but fit still depends on your head and how far forward you position the shell.
- Ownership cost: Check local availability and pricing for the correct inside and outside cover lenses.
Verdict: I’d put the 3350 first for someone welding thin stainless during the week and heavier brackets on Saturday. Its main selling point is a useful combination of low-current capability and a large, clear window—not simply having the biggest lens.
2. Miller Digital Infinity: Best for a Wide View at the Bench
The Digital Infinity’s 13.4-square-inch window helps when you want to see the joint, filler rod, and nearby fixture without constantly moving your head. Choose the ClearLight 2.0 version deliberately, because older Digital Infinity listings aren’t necessarily the same lens package. Miller publishes a 5-amp TIG rating for this model. That’s suitable for plenty of fabrication, but it isn’t the same low-current specification as the Lincoln.
On a stainless frame, a larger window can make it easier to follow a corner and check where the filler is approaching. It won’t fix poor body position, though. If you’re stretching across a 30-by-30-inch frame with your torch wrist hanging in space, move the work or add a support before blaming the helmet.
- Controls: Digital adjustment and separate operating modes suit welders who change tasks frequently.
- Trade-off: The large-window shell is relatively substantial, so evaluate balance rather than assuming more glass is automatically better.
- Value check: Confirm whether a discounted unit actually includes ClearLight 2.0.
Verdict: Buy the Infinity for visibility around the weld, particularly at a bench or on open fabrication. I’d favor the Lincoln instead if your deciding requirement is repeated starts and finishes below 5 amps.
3. Optrel Crystal 2.0: Best for Fit-Up Visibility Between Welds
The Crystal 2.0 stands out because its light state is shade 2, which makes positioning a tungsten and lining up a tack noticeably less obstructed than a darker standby lens. Its automatic shade adjustment operates within a 4–12 welding-shade range, with adjustment available to suit the task. That combination is useful when you alternate between fitting, tacking, and welding instead of running long beads continuously. Less lifting and dropping the hood. That has value.
The viewing window is smaller than those on the Lincoln, Miller, and Sentinel. You’re paying for the lens behavior and bright light state, not maximum window area. Also, shade 12 is the upper limit, so check your employer’s shade-selection requirements before choosing it for a workload that includes higher-current work.
Automatic shade control doesn’t take responsibility for eye protection away from you. Verify that the selected shade meets the applicable guidance, and check the specific manual or supplier documentation for your required minimum TIG current and AC operation. I wouldn’t substitute a bright-looking image for that information.
Verdict: The Crystal 2.0 makes sense for detailed work with lots of starts, stops, and positioning. It’s harder to justify if you mainly run straightforward beads at a fixed current and rarely need to inspect the joint with the hood down.
4. ESAB Sentinel A60: Best for Fine Shade Adjustment
The Sentinel A60 gives you a roughly 13-square-inch viewing area, four arc sensors, and shade adjustment from 5 to 13 in half-shade increments. Those smaller steps are useful when one whole-number setting feels too bright and the next makes the joint unnecessarily hard to follow. The A60 also carries a 1/1/1/1 optical classification and a published 5-amp TIG rating. It’s a substantial upgrade in viewing area over the older A50, so don’t confuse their specifications or consumables.
For someone moving between DC TIG on stainless and AC TIG on aluminum, repeatable controls are more useful than they sound. You can return to a known setup instead of hunting for it every time. The issue is that sensor exposure and sensitivity may still need changing when the work moves into a corner or behind a fixture.
- Adjustment advantage: Half-shade steps let you fine-tune the view without going below the required protective shade.
- Fit check: Try the shell in your normal crouched and seated positions, not just standing at the counter.
- Running cost: Price the model-specific outside covers before committing.
Verdict: Pick the A60 if you value a large lens and precise, repeatable settings across different jobs. For sustained sub-5-amp work, its stated threshold wouldn’t be my first choice.
5. ESAB Savage A40: Best Value for Learning and Occasional TIG
The Savage A40 keeps the useful basics: four sensors, a true-color view, adjustable sensitivity and delay, and a 100-by-50-millimeter viewing window. Its shade range is 9–13, rather than the wider ranges on several premium helmets. That narrower range isn’t automatically a disadvantage for ordinary TIG work. A lower available shade number is not permission to use insufficient protection.
The window works out to about 7.75 square inches, so you give up peripheral visibility compared with the big-window models. For a beginner sitting square to a practice coupon, that’s often an acceptable compromise. Clean cover lenses and good work positioning can improve your usable view more than spending another $200 while leaving a scratched cover in place.
At this price, I’d inspect the headgear adjustment and replacement-part availability before worrying about extra modes. Ask for the exact model’s low-current TIG specification, including any AC qualification, if thin-material downslope is part of your work. Don’t assume four sensors alone establish low-amp performance.
Verdict: Choose the A40 for TIG lessons, occasional repair work, or a backup hood. Spend more when you can name the limitation you’re solving—very low-current detection, neck comfort, or viewing area—not just because the expensive one looks serious.
Dial In the Helmet Before You Blame the Lens
Start with fresh batteries, clean sensor openings, and undamaged protective covers on both sides of the ADF. A cloudy inside cover can make every helmet in this comparison look disappointing. Keep the required covers installed, and replace them with approved parts. The filter itself is not a sacrificial spatter shield.
Set Sensitivity and Delay for Your Actual Arc
For low-current TIG, increase sensitivity as the manual recommends, then check for unwanted triggering from nearby arcs or shop lighting. Try a delay around 0.2–0.5 seconds as an initial adjustment where available, then adapt it to the job. Delay controls how long the filter remains dark after detection ends; it does not improve initial arc detection. A longer delay can bridge some pulse-background intervals, but it cannot repair unreliable sensing.
- Check normal starts, steady welding, and pedal downslope within the manufacturer’s stated operating range.
- Evaluate AC and DC separately if you use both; passing one operating condition doesn’t prove the other.
- With pulsed TIG, include your real background current and pulse frequency, not just the peak amperage.
- If the filter unexpectedly lightens during welding, stop and troubleshoot rather than repeatedly welding through it.
Check Headgear Balance and Protective Shade
Wear the helmet for several minutes in a realistic working posture, with your welding cap, safety glasses, and any required respiratory protection. Bring the lens reasonably close to your eyes without creating contact or clearance problems, because excessive forward distance increases neck leverage. For shade selection, follow the manual and applicable workplace guidance: commonly used OSHA guidance lists shade 8 as the minimum for GTAW below 150 amps, while ANSI/AWS recommendations call for darker shades in parts of that range. Don’t dial down until the arc merely feels comfortable.
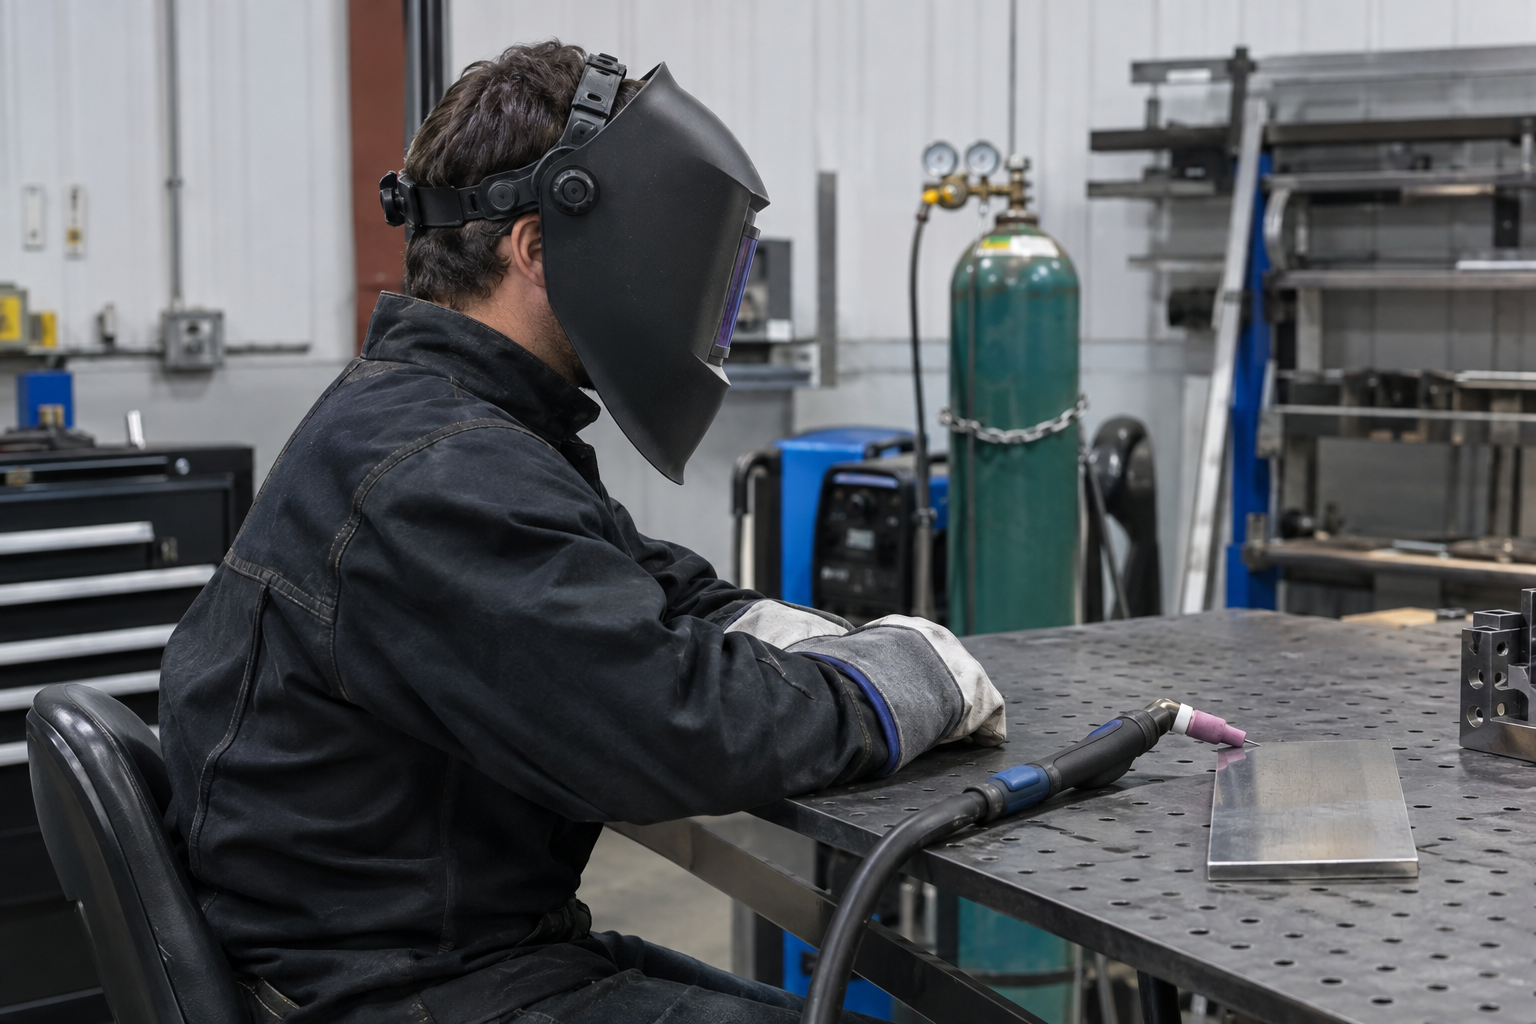
My default recommendation is the VIKING 3350 for low-amp capability and general usefulness, with the Savage A40 covering tighter budgets. Choose the Infinity or Sentinel when the larger view solves a real access problem, and the Crystal 2.0 when fit-up visibility is where you lose time. Buy for the weld you actually make.